Hello everyone, I’m Programmer Xiao Hui.
In today’s AI programming field, many players are competing fiercely, including Cursor, Trae, ClaudeCode, and Codex. Recently, I published an introductory tutorial on Claude Code, which received positive feedback. Many friends asked if we could release a tutorial on Codex.
No problem, let’s get started!
Today, I will systematically explain Codex, an AI programming tool, discussing whether Codex is worth considering, how to install it, and how to get started while avoiding common pitfalls.
This article is quite long, so I recommend saving it for later reference.
1. Why Consider Codex?
Is Claude Code good? Of course, it is.
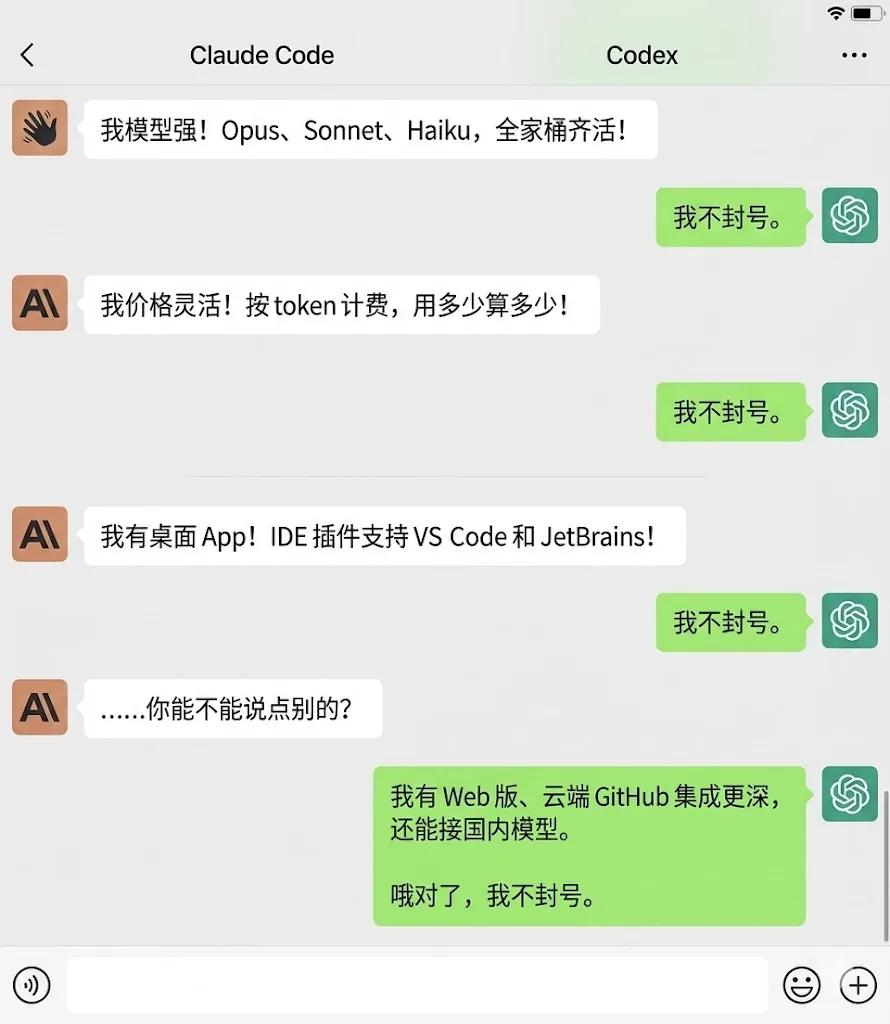
However, those who have used Claude Code know that it has two awkward characteristics:
1. Limited Free Quota: You will eventually need to pay, and the cost can be high.
2. Account Suspension Risk: Anthropic frequently suspends accounts, which is quite fatal.
Due to these issues, many in my fan group often ask: “Does OpenAI have a similar AI programming tool?”
The answer is “yes,” and its stability is much better than Claude Code. Not only does it have strong coding capabilities, but it can also integrate with GitHub. This product is Codex.
2. What is Codex?
Codex is an AI coding tool developed by OpenAI that understands your needs, helps you write code, run commands, and debug.
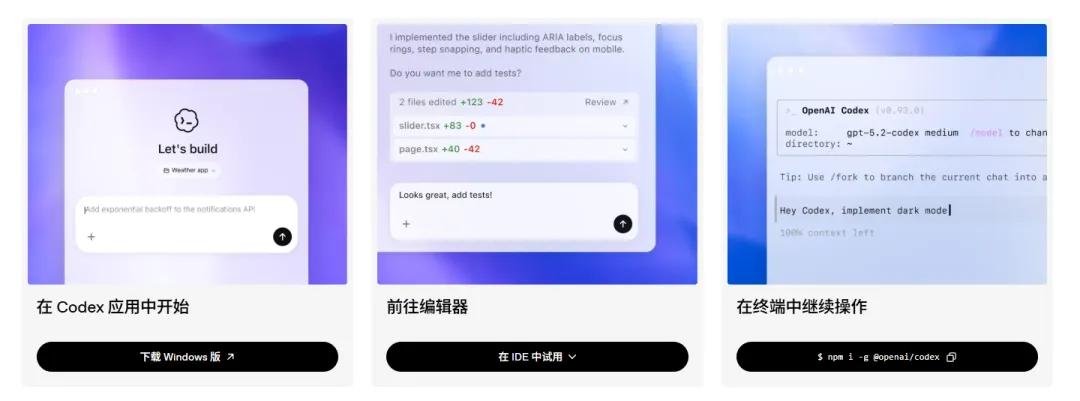
Codex has four operating modes that cover most use cases you can think of:
- CLI (Command Line Interface): Runs in the terminal, suitable for command line enthusiasts, allowing full control in a black box.
- App (Desktop Application): Has a graphical interface, supports macOS and Windows, suitable for those who prefer not to struggle with the terminal.
- Web (Web Version): Can be used directly in a browser without installation. Ideal for temporary code changes on someone else’s computer.
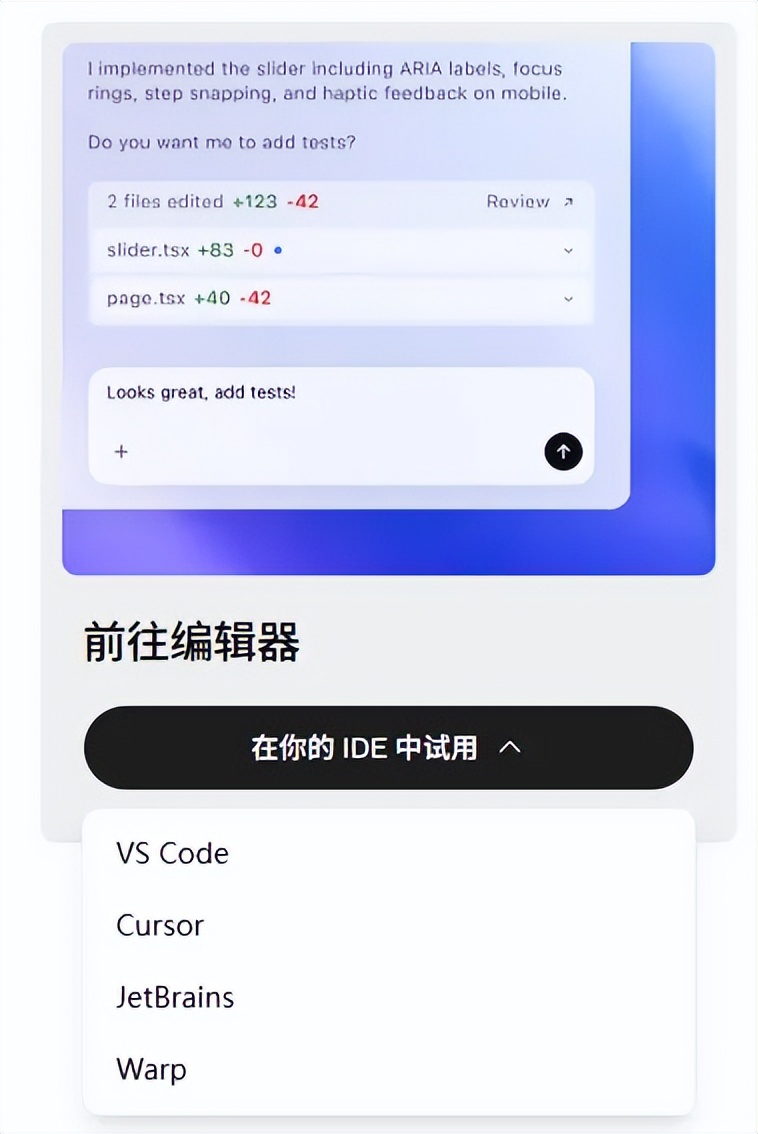
- IDE Plugin: Supports VS Code, Cursor, and Windsurf. You can call Codex directly in the editor without switching windows or copying and pasting, with context automatically carried over.
How to choose between these four modes?
CLI for terminal users, App for mouse users, Web for quick fixes, and IDE plugin for daily coding. There is no superiority among these modes; choose the one that feels most comfortable for you.
3. The Latest Version of Codex
If you only understand Codex as “OpenAI’s version of Claude Code,” that understanding is a bit narrow.
Since 2026, Codex has evolved from just a command line coding assistant to a comprehensive “AI work system.”
According to the official changelog, the three core changes to Codex in April 2026 are:
1. Codex App 26.415 (Updated on 2026-04-16)
The desktop version has upgraded from a “chat-based coding tool” to a more complete AI workstation, now supporting built-in browsers, task sidebars, GitHub PR handling, artifact viewers, Memories, multi-terminal, multi-window, and Windows tray adaptation.
2. Model Version GPT-5.5 (Updated on 2026-04-23)
GPT-5.5 has begun to be integrated into Codex, focusing on enhancing capabilities for complex implementations, refactoring, debugging, testing, and validation tasks. This means Codex is not just for writing small scripts but is more suitable for handling complex tasks in real projects.
3. Codex CLI 0.128.0 (Updated on 2026-04-30)
The CLI has added a persistent /goal workflow, allowing you to create, pause, resume, and clear long-term goals. Additionally, a new codex update feature has been added, with more detailed permissions, sandboxing, and plugin capabilities.
From these iterations, it is clear that with Codex today, the question should not just be “can it write code?” but rather, can it handle the repetitive, complex, cross-file, and verification tasks in your workflow?
However, this is an introductory tutorial, so I won’t delve into every advanced feature; just know they exist, and you can explore them as needed.
4. What Scenarios is Codex Suitable For?
The following five situations are most suitable for using Codex:
1. You already have a ChatGPT Plus/Pro subscription. In that case, try Codex first. The $20 you pay each month is finally not just for writing weekly reports.
2. You want a GUI. You prefer not to stare at the terminal and want to get things done with a few clicks.
3. You are tired of account stability issues. Having an official tool provides an additional backup workflow.
4. You want to try it at low cost. Check if Codex is included in your plan based on the official page and client display. Use it first before paying.
5. You like OpenAI’s model capabilities. You find it easier to write, explain, and modify code with the GPT series.
If you do not have a ChatGPT subscription and do not want to pay, that’s okay; I will explain how to connect it to domestic large models later.
5. How to Install Codex?
The installation process for Codex is not complicated; it only takes a few steps, and as long as your computer is not too outdated, it should run smoothly.
1. Environment Requirements
You need to install Node.js and git.
Check your environment in the local terminal:
node --version

npm --version

git --version
If not installed, please do so. This step is straightforward; missing even one can lead to errors later.
Node.js download link:
https://nodejs.org/zh-cn/download
Git download link:
https://git-scm.com/install/windows
As a reminder, if you are a Windows user, the easiest way is to install the App first. The CLI can also be used, but if you encounter environment issues, consider using WSL or jump to the App section first.
2. Installing CLI
CLI is suitable for those who are already accustomed to the terminal. Choose one of the two installation methods:
# npm installation
npm install -g @openai/codex

# Homebrew installation (macOS)
brew install --cask codex
Verify the installation:
codex --version
If you see the version number, the installation was successful. If not, check Node.js, npm global path, and network settings.
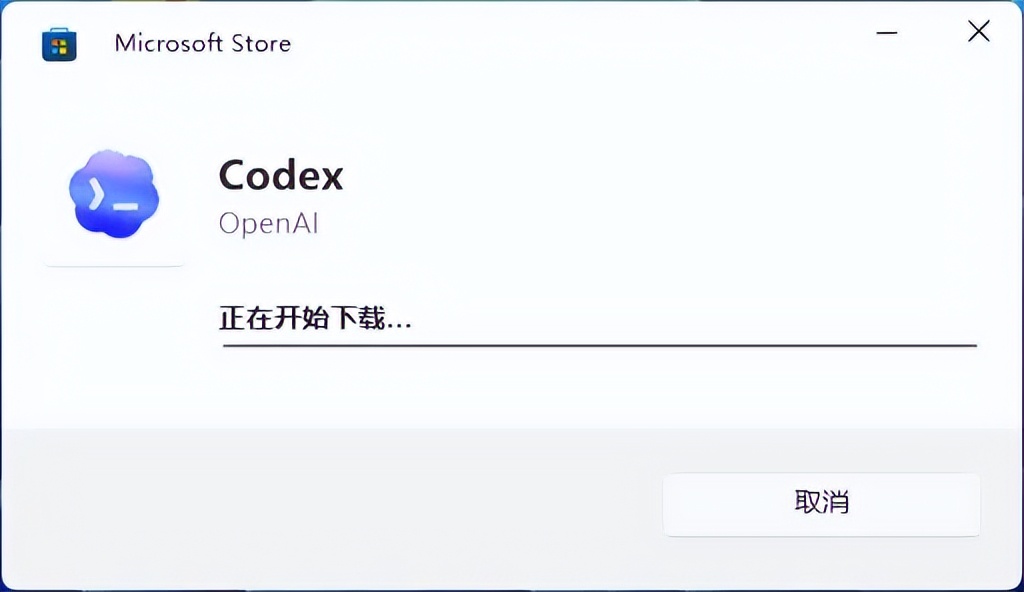
3. App Installation
Windows download link:
https://get.microsoft.com/installer/download/9PLM9XGG6VKS?cid=website_cta_psi

4. Cloud Version
Access it directly at:
https://chatgpt.com/codex/cloud

5. IDE Plugin
If you use VS Code, Cursor, or Windsurf, you can install the plugin:
Installation link:
https://developers.openai.com/codex/ide
Once installed, you can call Codex directly in the editor.
At this point, you have four options. Beginners are advised to start with the App, developers with the CLI, and those with existing GitHub repositories can try the cloud version directly.
Don’t get bogged down by the entry point; tools are not objects and don’t need to be used in a single way.
6. Using Codex in CLI
The CLI is the form of Codex that resembles a “developer tool” the most. You can specify your needs in the terminal, and it will modify files, run commands, and fix issues in your project.
1. Starting
codex
The first time you start, it will prompt you to choose a login method.
You may encounter an error: Error: account/read failed during TUI bootstrap.
This error has been reproduced in the official issue tracker; re-logging usually resolves it.
For such issues, don’t struggle; logging out and back in is often more effective than spending half an hour debugging logs.
Execute:
codex logout
Or log in directly:
codex login
Logging in through the browser generally resolves the issue; many users have found this to be effective.
2. Login Methods
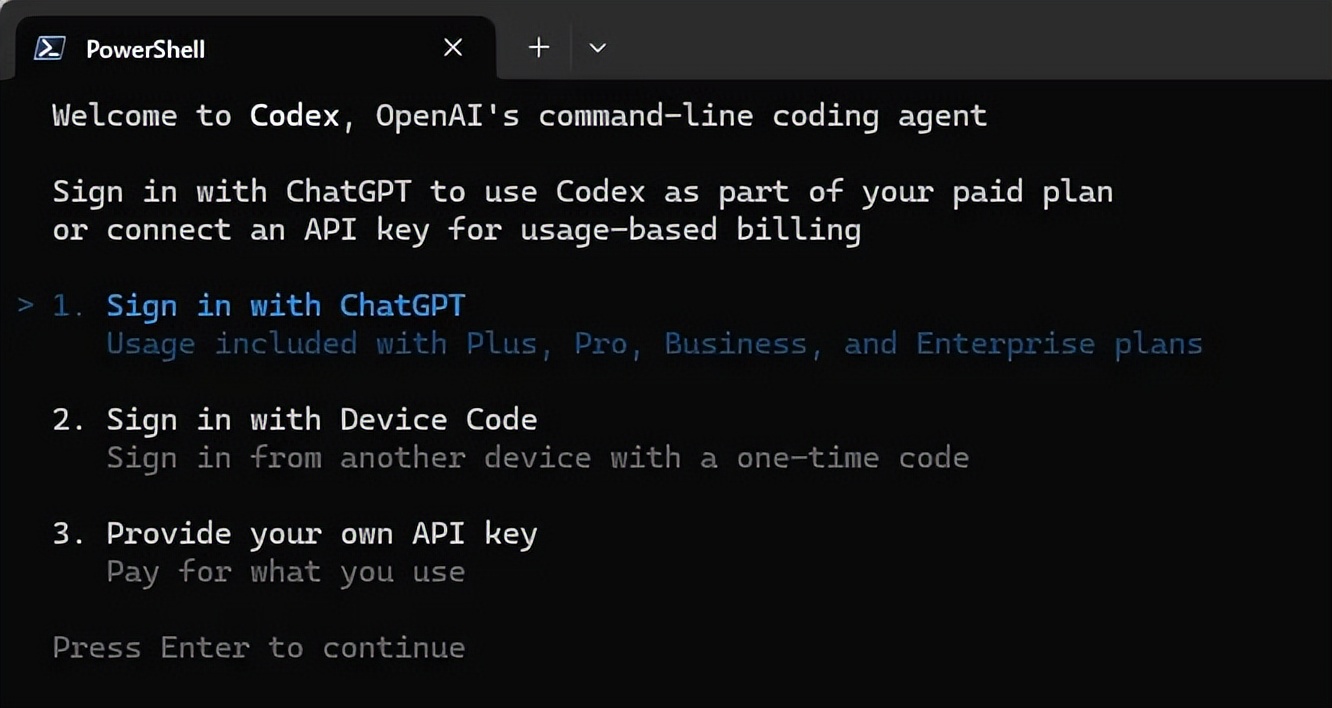
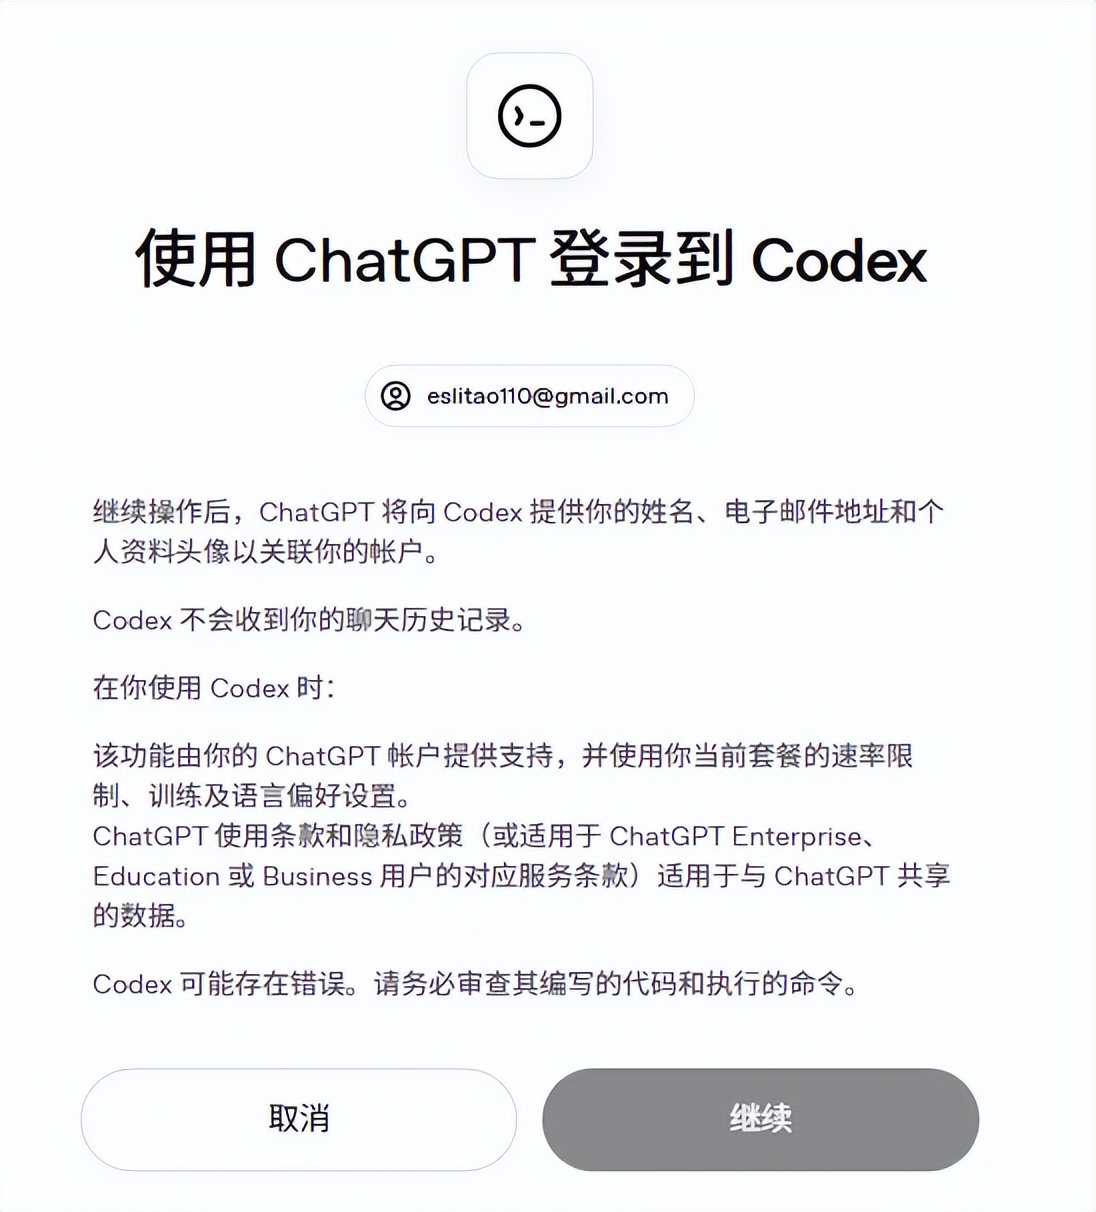
Option 1: Sign in with ChatGPT (Recommended)
This will open a browser for you to authorize with your ChatGPT account.
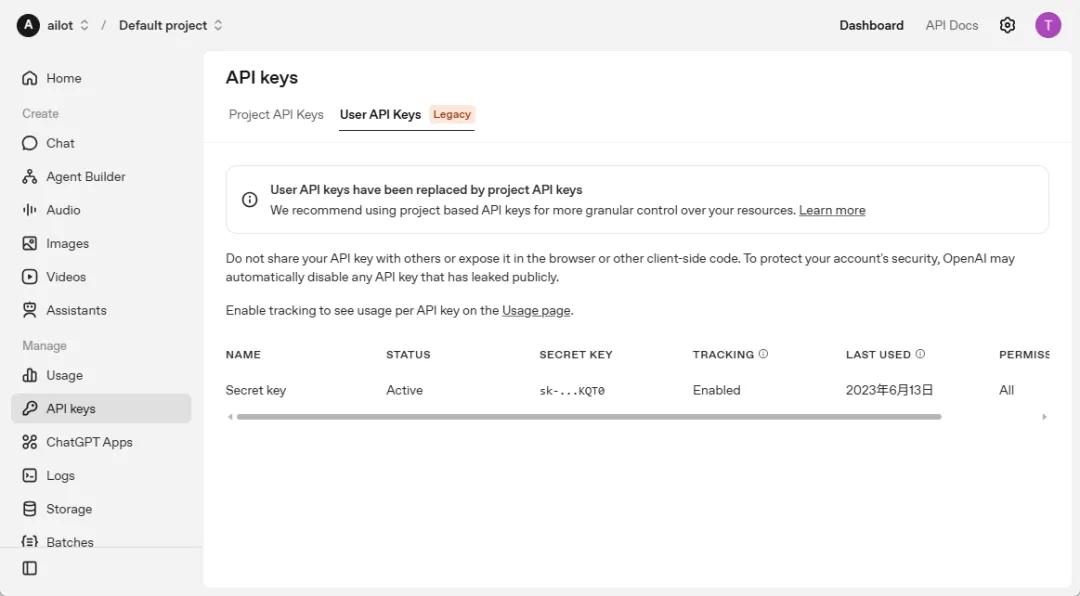
Option 2: Enter API Key
Go to
Generate an API Key and paste it in. This method is billed by token and is suitable for users familiar with the OpenAI API.
3. Model Selection
The model is based on what your current client displays.
Don’t memorize the model numbers; AI tools update quickly, and the default model you see today may change over time.
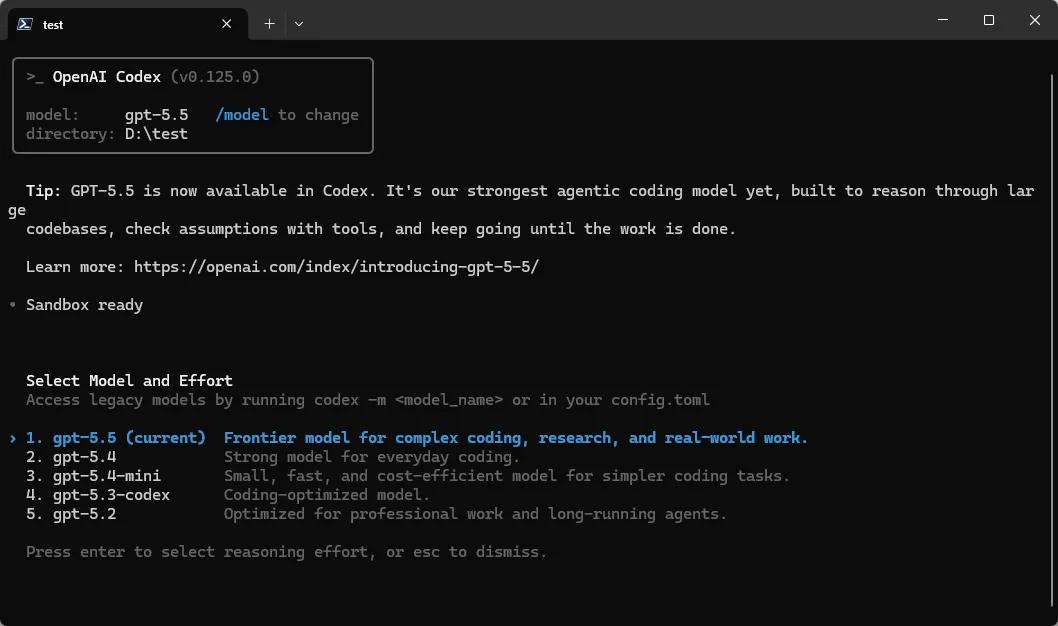
To switch models, use the /model command.
4. 30 Seconds to Get Started
Once installed, try running a simple command. Don’t start by asking it to refactor a legacy system; practice with a small game first for a healthier mindset.
Create a test folder in D drive, then open the terminal and enter:
cd d:\test\
Then enter the following command:
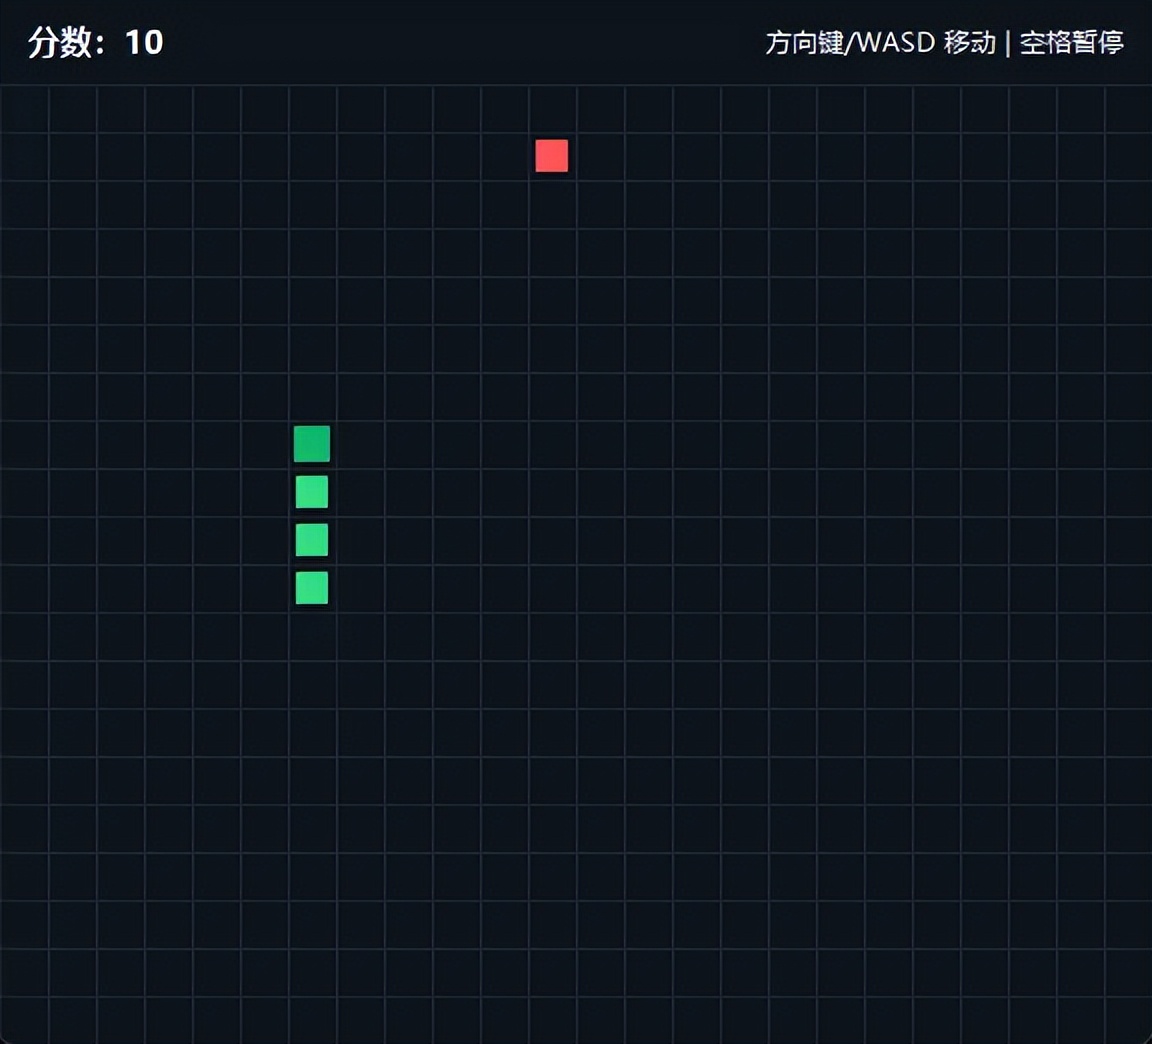
codex "Write a snake game in Python"
It’s that simple. Codex will understand your request, generate code, create files, and even help you run it.
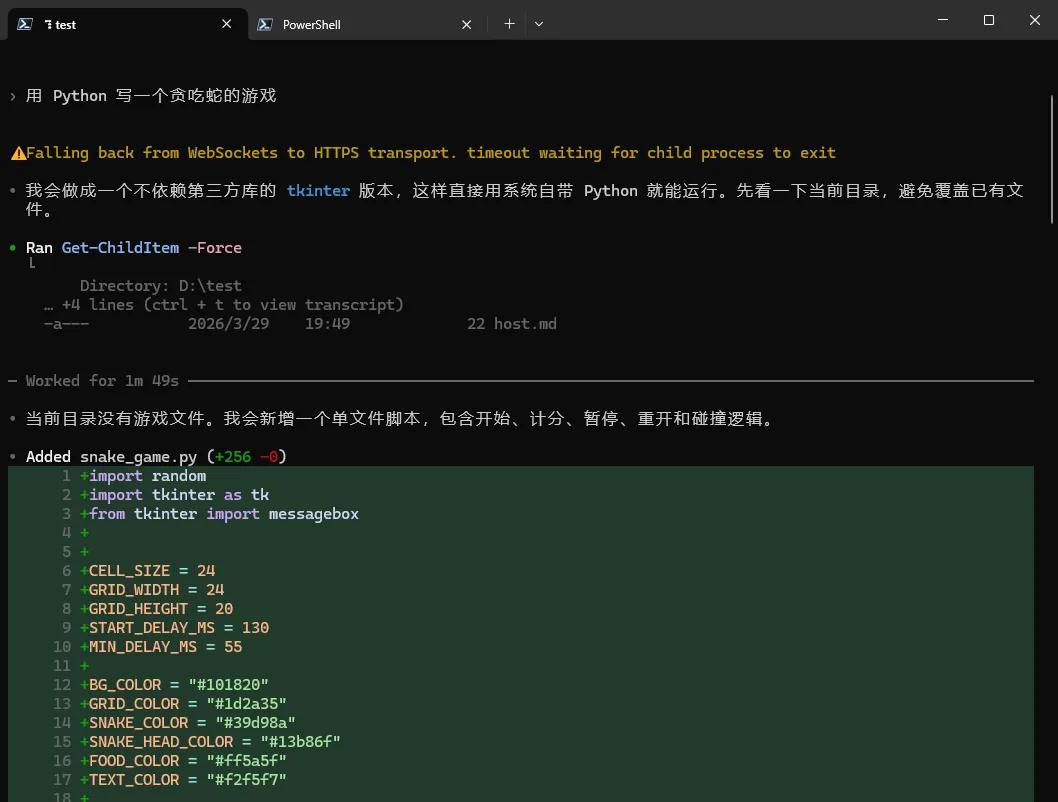
You don’t need to specify the framework or how to organize the code initially; it will make judgments based on your needs. This is the core value of AI coding tools: you describe the goal, and it breaks down tasks, modifies files, and runs commands.
After trying this out, you’ll have a general sense of what Codex feels like. Its value will become more apparent when integrated into real projects.
Of course, just like human-written code, AI-generated code also needs your review. Don’t treat it as an automatic delivery machine that requires no checks.
5. Common Commands
| Command | Purpose |
|---|---|
| codex login | Log in |
| codex logout | Log out |
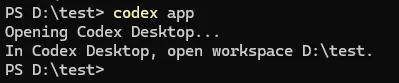
| codex app | Start the desktop application |
| /init | Initialize |
| /model | Switch model |
| /compact | Compress context |
| /new | Start a new session |
| /plan | Start planning mode |
| /ask | Ask without executing |
| /settings | Open settings |
7. Using Codex in App
1. Starting
The App is suitable for two types of people: those who don’t want to stay in the terminal all the time and those who wish to view project files, conversation history, and modifications simultaneously.
You can open it in two ways: double-click the Codex icon on the desktop or execute the command codex app.
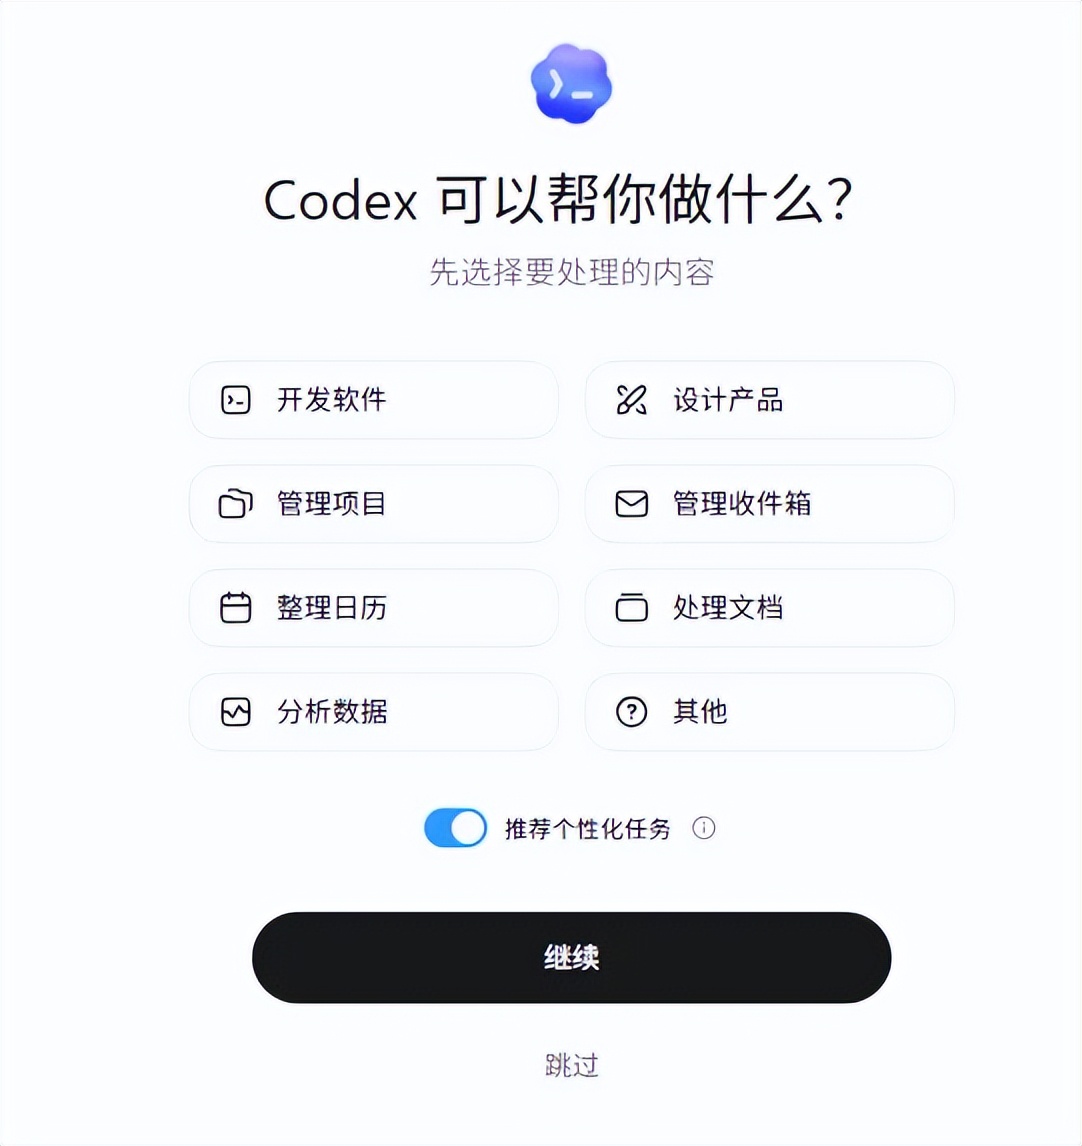
After selecting your preferences, click Continue or Skip to configure later.

Since I previously logged into Codex CLI, I can use the App directly without logging in again. The same applies to the IDE plugin; the same login state can be reused.
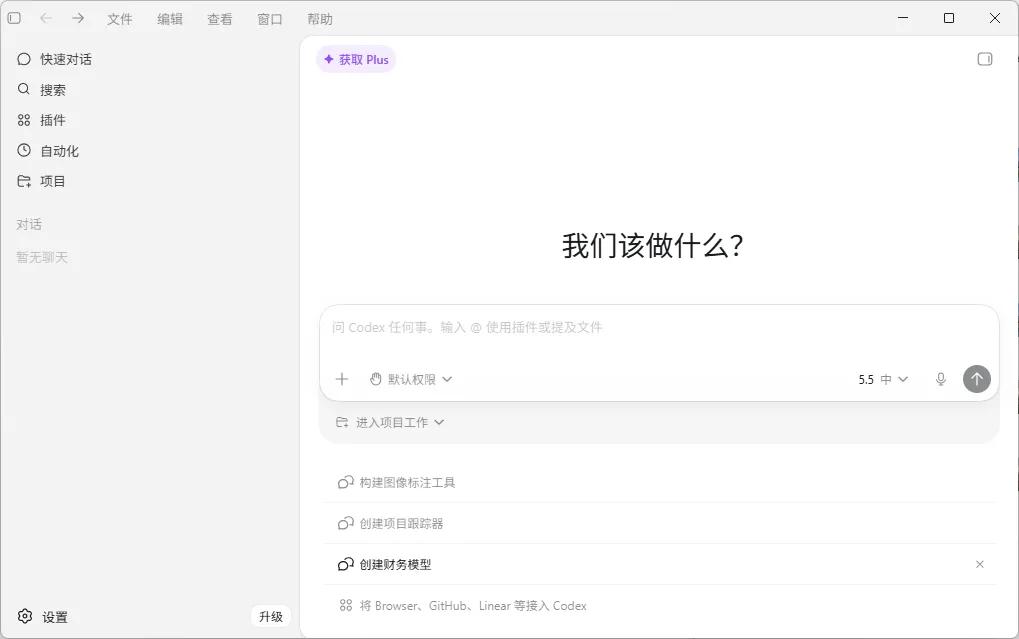
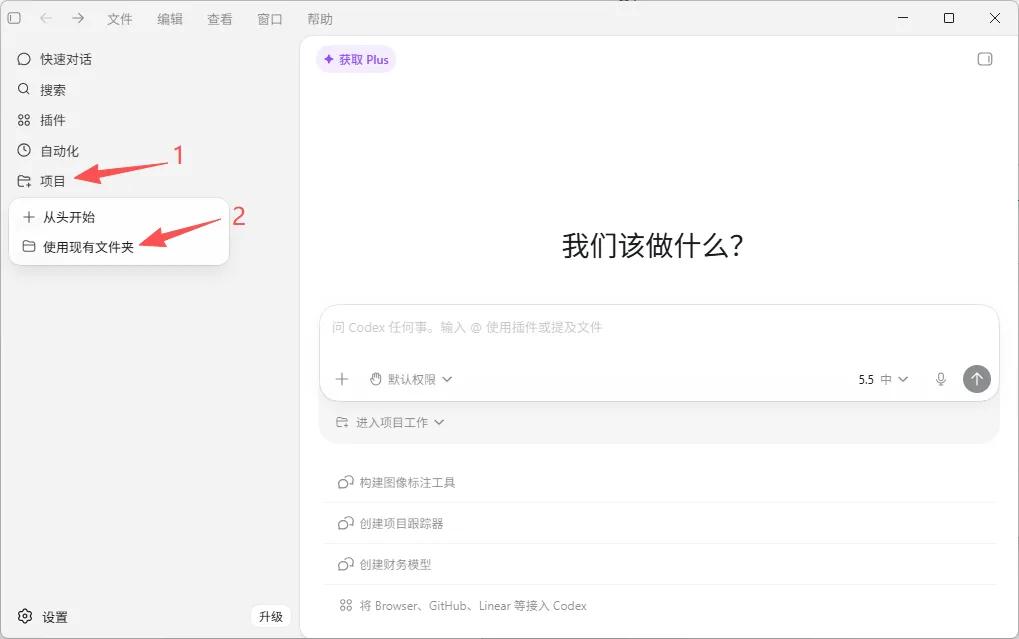
2. Basic Usage
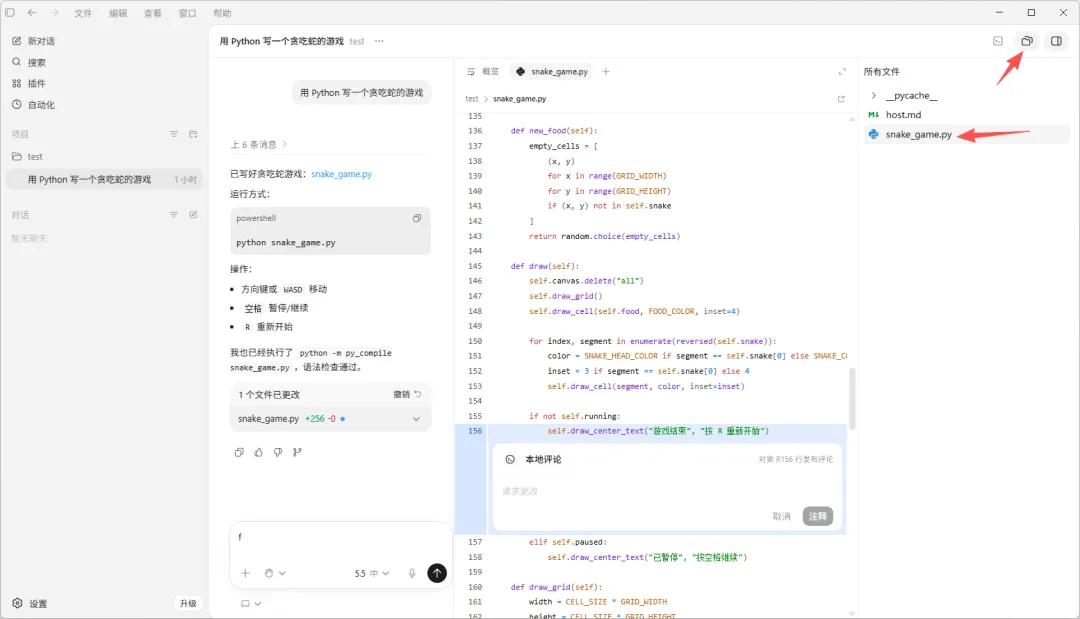
Click on the project and select the existing folder, finding the test folder where you created the snake game earlier.
You can see that the previous conversation has been loaded. This is crucial: Codex is not just a one-time Q&A; it can continue working around a project.
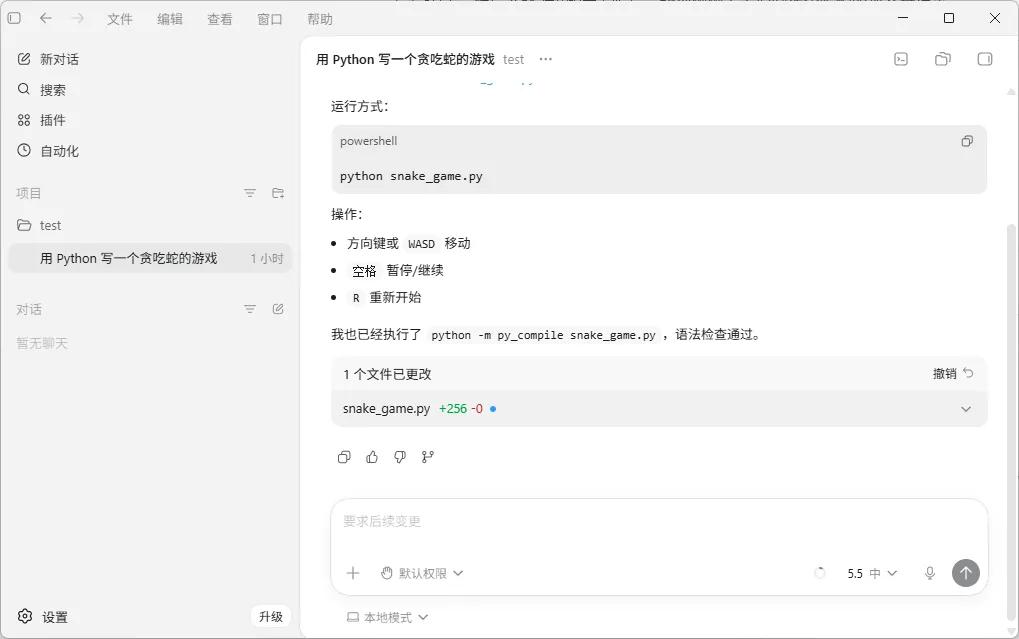
Click the file tree switch in the upper right corner to see the files in the current directory. After clicking a specific file, you can preview its content on the left and directly annotate within the file, allowing Codex to continue modifying based on your feedback.
At this point, it is no longer just a “Q&A robot” but can continue to modify based on project context.
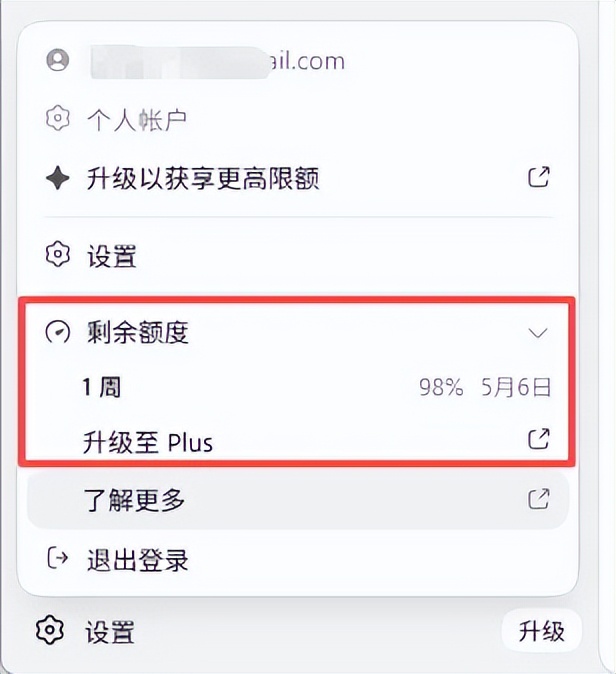
In the lower right corner, you can also check your remaining quota. Light usage is generally sufficient, but the quota policy may change, so refer to the client display for the latest information.
8. Using Codex in the Cloud
The cloud version is suitable for handling projects already hosted on GitHub. You can think of it as local Codex working on your computer, while cloud Codex works connected to your GitHub repository.
If you already have a GitHub repository, you can skip directly to “Connecting Codex to GitHub.” The following section outlines the complete process of creating a repository from scratch.
1. Initializing a Git Repository
Open the terminal and enter the command cd d:\test\
Then execute the following command:
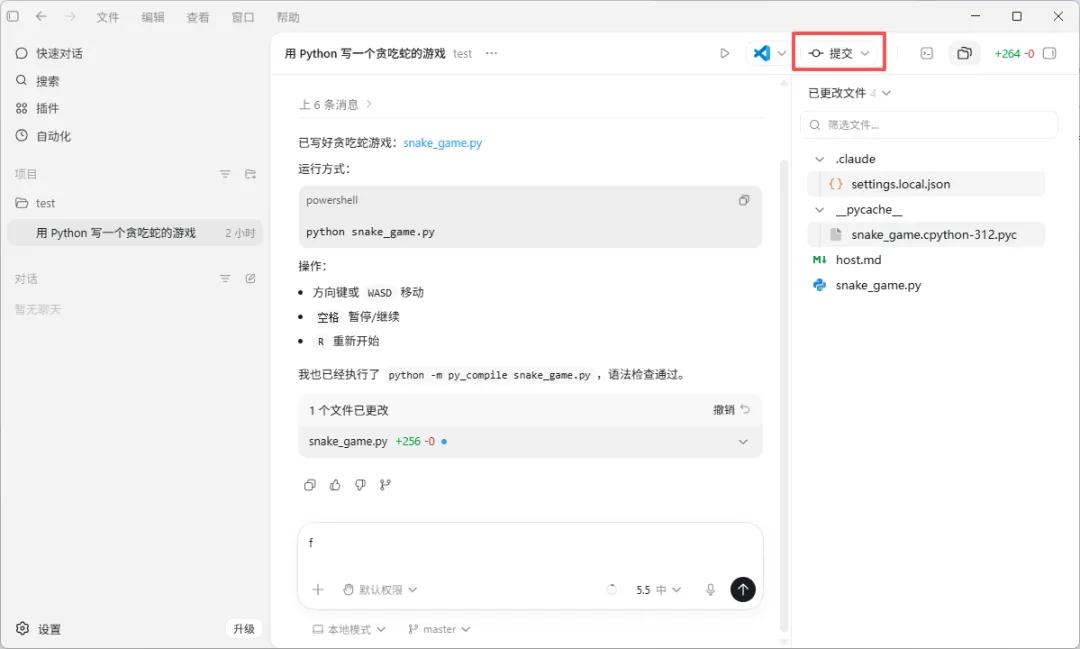
git init

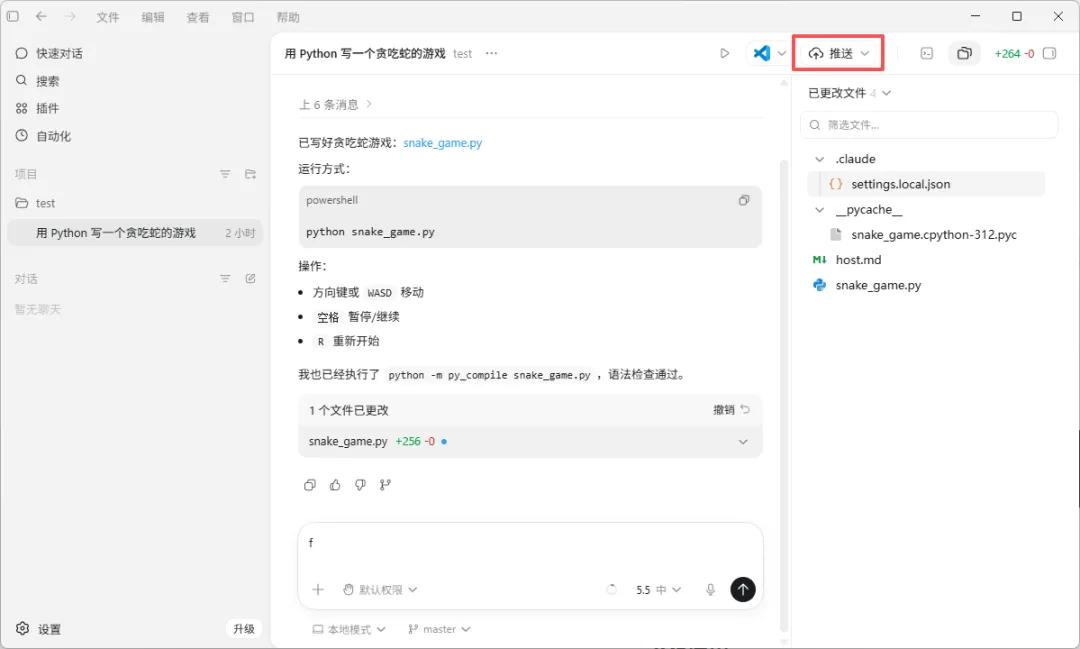
After execution, you will see a commit button appear in the App.
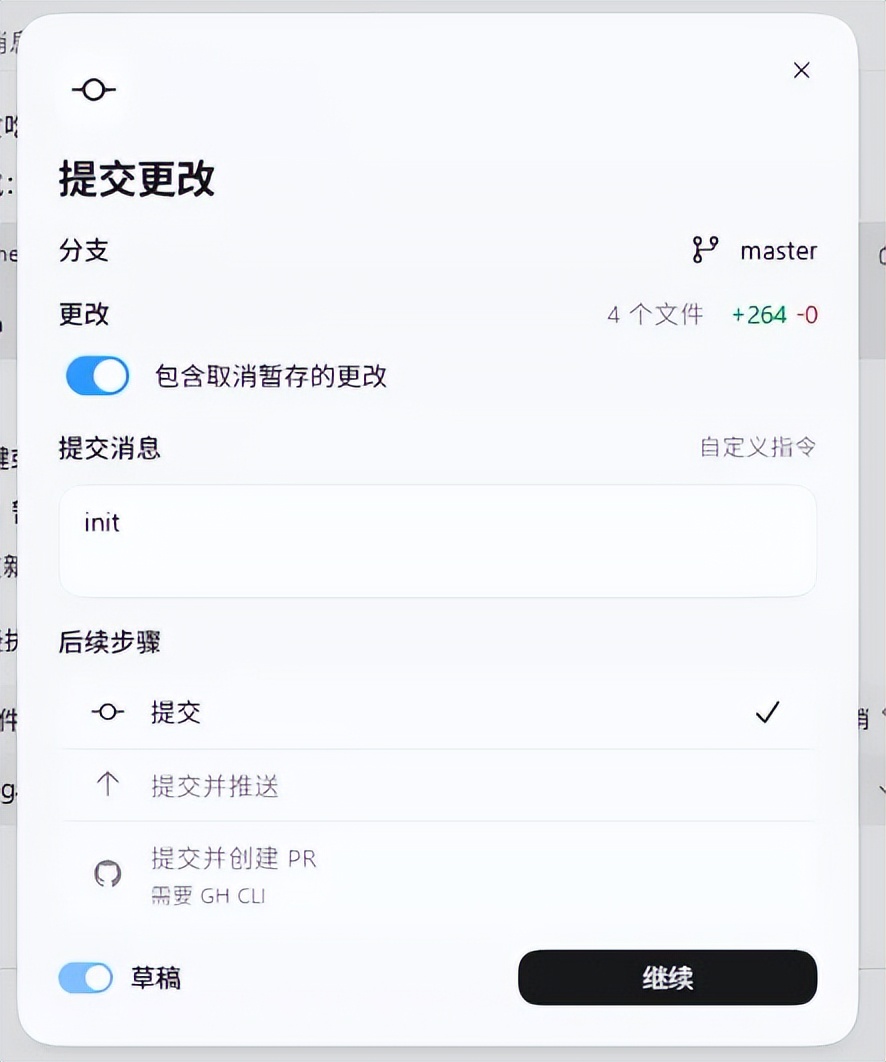
Click commit, fill in a commit message, and then click continue to save your modification record.
Don’t follow the example of some old projects where everyone uses “update” as the commit message; years later, when reviewing records, you’ll wish you had been more descriptive.
2. Creating a Remote GitHub Repository
Next, open GitHub and create a remote repository named test.
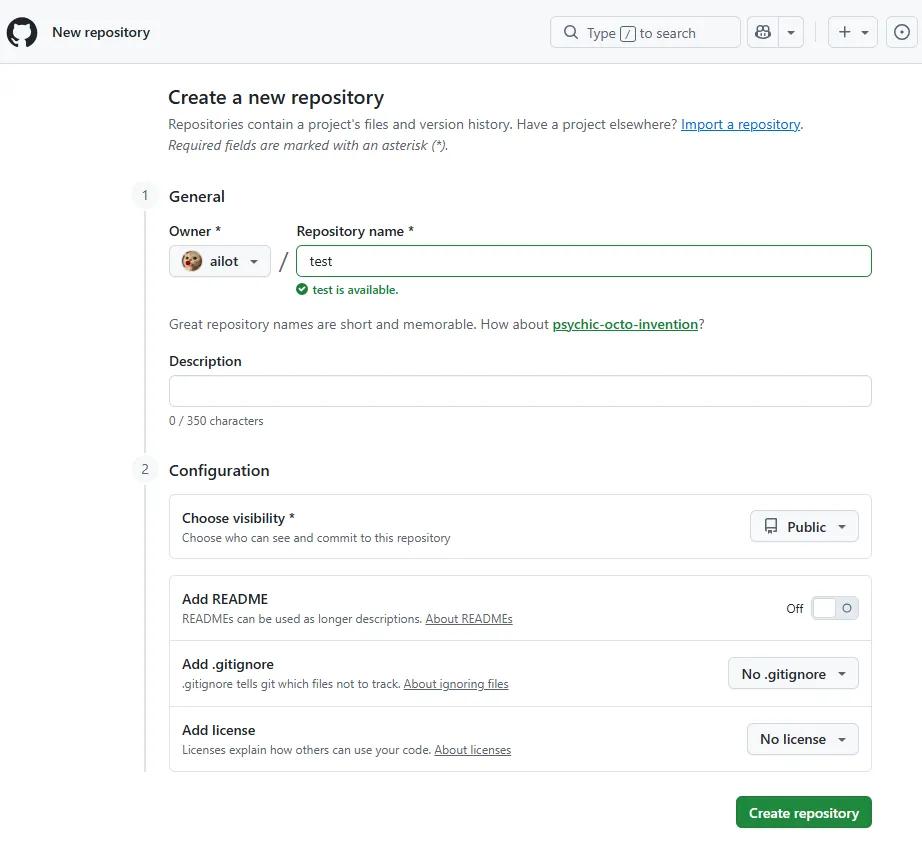
After creation, you will see these prompts.
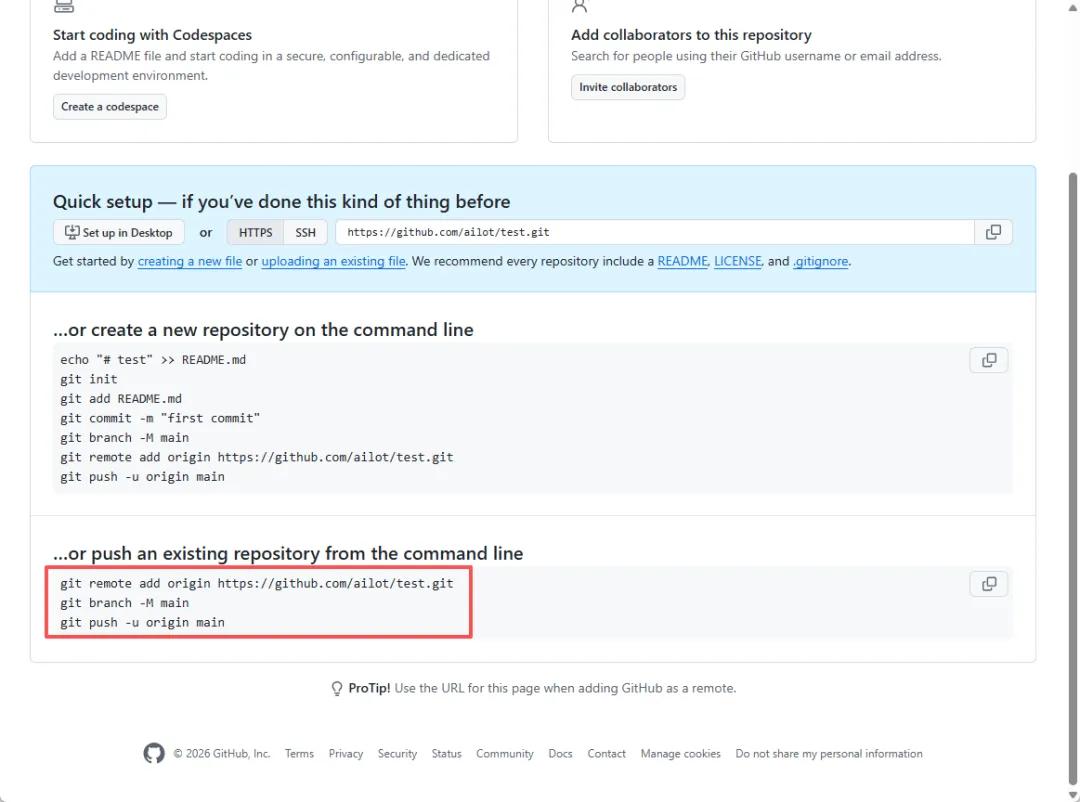
In the terminal you opened earlier, execute the following command. Be sure to replace the address below with your own repository address:
git remote add origin https://github.com/ailot/test.git

After execution, you will see the push button in the App become clickable.
Continue executing the command in the terminal.
git branch -M main
Comments
Discussion is powered by Giscus (GitHub Discussions). Add
repo,repoID,category, andcategoryIDunder[params.comments.giscus]inhugo.tomlusing the values from the Giscus setup tool.